
English 
T: +86-17717097520
E: sales1@melko2015.com
E: sales1@melko2015.com
No.222 Xiangche Rd. Chedun Town Songjiang Dist. Shanghai China 201611


Views: 0 Author: Site Editor Publish Time: 2026-07-08 Origin: Site


Operating a liquid filtration system effectively requires balancing consumable costs against the risk of catastrophic system failure or batch contamination. Process managers understand this delicate balance very well. You cannot simply guess your maintenance schedules without facing significant consequences in the production line. Replacing a bag filter too early wastes valuable maintenance budgets and increases unnecessary labor. Waiting too long risks pump damage, fluid bypass, and compromised downstream product quality. We need clear operational rules to prevent these costly issues. This guide establishes the objective operational thresholds—both metric-based and observational—that dictate exactly when to swap out your filters. You will learn how to monitor differential pressure accurately. We will also explore visual inspection techniques to ensure optimal performance. Implementing these practices guarantees stable fluid processing and protects your most critical downstream equipment.
Understanding the mechanics of pressure drop remains essential for system operators. As liquid pushes through the filter media, contaminants get trapped on the surface and within the depth of the fabric. This accumulating dirt layer steadily reduces the open pore area. The fluid encounters growing physical resistance. Consequently, the pressure upstream of the housing increases. Meanwhile, the pressure downstream decreases. We measure this difference to find the Delta P.
Industry guidelines universally identify Delta P as the most reliable maintenance metric. A brand-new setup might show a baseline drop of 1 to 2 PSI during initial startup. As operations continue, this number climbs. Experts recommend scheduling a replacement when the gauge reads 10 to 12 PSI. You absolutely must swap the media before it hits the critical 15 PSI threshold.
Pushing operations beyond 15 PSI causes severe mechanical problems. The intense fluid pressure stretches the fabric fibers. It expands the micron pores beyond their engineered limits. This stretching allows trapped dirt to escape downstream. We call this failure "particle unloading." Unloading ruins entire production batches instantly. Furthermore, excessive pressure might rupture the seam completely. A blowout releases a massive surge of concentrated debris into your clean fluid.
Here is a reliable method for tracking Delta P effectively during daily operations:
Best practices: Always calibrate your gauges annually. A faulty gauge leads to terrible maintenance decisions.
Common mistakes: Operators often ignore slow, creeping pressure rises. They mistakenly assume the system is stable until a sudden, catastrophic pressure spike occurs.
Sometimes physical gauges fail, or busy operators miss a critical reading. Therefore, you must watch secondary performance indicators closely. Flow rate acts as a direct window into system health. Liquid struggles to pass through heavily clogged media. Consequently, your overall throughput drops noticeably. If the supply pump runs at full capacity but delivers less volume, you have a problem. The media is likely blinded by fine particulates.
Turbidity provides another vital warning sign. Turbidity refers to the visual cloudiness of your processed liquid. A sudden increase in downstream turbidity signals an immediate emergency. It usually means contaminants are actively bypassing the barrier. High turbidity indicates a tear in the fabric or a failed housing seal. You must stop the pump right away. Install fresh replacement filter bags to restore product clarity.
We can categorize these secondary indicators to simplify daily troubleshooting for your maintenance team.
Troubleshooting Secondary Indicators
| Indicator Observed | Likely Root Cause | Required Operator Action |
|---|---|---|
| Gradual flow reduction over days | Normal particulate accumulation | Prepare for routine scheduled maintenance |
| Sudden flow halt or extreme drop | Severe media blinding or pump failure | Stop system and inspect equipment immediately |
| Gradual downstream turbidity increase | Pore stretching (particle unloading) | Replace the media immediately |
| Sudden severe turbidity spike | Ruptured seam or failed O-ring seal | Halt process, clean housing, replace parts |
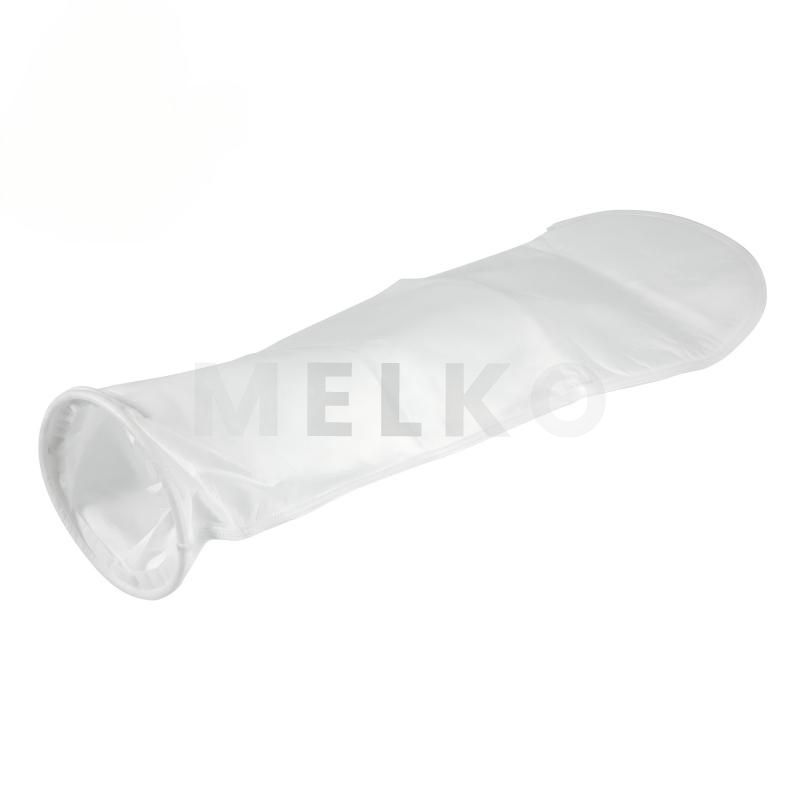
Facilities generally adopt one of two maintenance philosophies. Time-based maintenance relies strictly on a set calendar schedule. Maintenance teams might swap the media every Friday afternoon regardless of system data. This approach requires very little daily oversight. It works reasonably well for highly consistent processes. If your feed liquid always contains the exact same dirt load, time-based schedules usually suffice.
However, most industrial environments experience significant variability. Raw water quality changes dramatically during heavy rainstorms. Chemical batches contain varying levels of undissolved solids. In these dynamic settings, calendar schedules fail. You might throw away perfectly good media. Alternatively, you might ruin a batch because a sudden dirt spike clogged the system early.
Condition-based maintenance offers a superior alternative. This strategy relies on real-time data like Delta P. You only execute a changeout when the physical metrics demand it. It maximizes the usable lifespan of your consumables safely. It also prevents premature process failures. We strongly encourage condition-based monitoring for modern fluid handling applications.
Comparison Chart: Maintenance Strategies
| Feature | Time-Based Maintenance | Condition-Based Maintenance |
|---|---|---|
| Trigger Metric | Calendar days or total operating hours | Differential pressure or precise flow drop |
| Ideal Application | Highly consistent, predictable fluid batches | Variable loads, seasonal water, custom batches |
| Resource Efficiency | Often wastes media by replacing too early | Maximizes media usage safely |
| Risk Level | High risk if sudden contamination occurs | Low risk due to continuous real-time monitoring |
A successful replacement involves more than just swapping the fabric. The metal housing plays an equally vital role. The housing secures the media and directs the fluid path accurately. If the housing components degrade, fluid will bypass the barrier completely. You must perform a thorough visual inspection during every single changeout.
Pay special attention to the O-rings and gaskets. These elastomeric seals endure constant chemical exposure and extreme pressure fluctuations. They naturally degrade over time. Inspect them for surface cracks, flattening, or abnormal swelling. A flattened O-ring cannot maintain a proper seal. Replace any suspicious seals immediately. Keep spare Buna-N, Viton, or Silicone rings in your nearby tool kit.
Next, examine the internal restrainer basket carefully. The metal basket supports the fabric against the heavy fluid pressure. A damaged basket destroys new media quickly.
Best practices: Clean the empty housing thoroughly before inserting the new unit. Debris left in the bottom can easily migrate downstream upon system restart.
Common mistakes: Operators often rush the process to save time. They drop the new unit into a dirty housing. This guarantees a poor seal and subsequent bypass issues.
Knowing when to change the media is only half the battle. Executing the change safely prevents severe accidents and process contamination. Industrial fluids often pose thermal or chemical hazards to personnel. Operators must follow strict safety protocols every single time.
First, always shut off the main supply pump. Never attempt to open a pressurized vessel. Close the inlet and outlet isolation valves completely. Open the top vent valve to release built-up air pressure. Then, open the bottom drain valve to empty the liquid safely into an approved receptacle.
Once the vessel is completely empty, you can safely open the lid. Remove the spent media carefully. It will likely weigh significantly more than a dry unit due to retained liquid and heavy sludge. Dispose of it strictly according to your local environmental regulations.
Insert the fresh unit into the clean restrainer basket. Make sure the top ring sits perfectly flush against the retaining groove. Lock the hold-down assembly securely. Finally, prime the vessel slowly. Open the inlet valve partially to allow fluid to enter gently. Keep the vent valve open until liquid escapes, ensuring all trapped air leaves the vessel completely before resuming full operations.
Different fluid characteristics require adjusted replacement strategies. Highly viscous liquids act differently than water. Materials like paints, resins, syrups, and heavy oils exert much higher physical stress on filter media. Because the liquid moves sluggishly, you might reach the 15 PSI limit much faster than expected.
In these challenging applications, do not push the pressure limits. We recommend changing the filter earlier, around 10 PSI, to avoid catastrophic blowouts. The thick nature of the fluid means any pore stretching immediately releases massive clumps of contamination downstream. Using heavy-duty replacement filter bags specifically designed for high-stress applications helps manage this load. Woven meshes or multi-layered felts handle viscous fluids much better than standard single-layer media.
Sometimes major problems arise immediately after a replacement. Operators might notice rapid pressure spikes or persistent turbidity upon restarting the pump. These issues require quick diagnosis and immediate intervention.
If pressure jumps to 10 PSI within minutes, check your incoming fluid conditions. You might have received an abnormally dirty batch of raw fluid. Alternatively, you might have installed media with the wrong micron rating entirely. A 1-micron pore size will blind instantly if the fluid requires a 50-micron rating. Always verify the part numbers before installation.
If downstream liquid remains cloudy, suspect an internal bypass. The media might not be seated properly. The top hold-down ring might be loose. A loose ring allows fluid to slip over the top edge directly into the clean zone. Depressurize the system immediately. Open the lid and reseat the top ring. Ensure you press it down firmly into the machined groove.
We highly advise keeping a detailed maintenance log attached to the machine. Record the date, the operator name, the micron rating used, and the baseline pressure. This historical data proves invaluable when diagnosing recurrent process failures months down the line.
Maintaining clear fluid streams demands vigilant monitoring and timely interventions. You can avoid costly downtime by recognizing the exact moment your equipment needs attention. Remember these critical action items as you refine your maintenance protocols:
Take action today by auditing your current pressure gauges. Confirm they read accurately and schedule a calibration if necessary. Furthermore, organize your inventory space. Keep a well-stocked supply of correct micron-rated media readily available. This preparation allows your team to handle sudden contamination spikes smoothly without delaying overall production.
A: You should check the differential pressure at least once per shift. For highly variable processes, consider installing automated digital sensors. These sensors can trigger early alarms before the pressure reaches critical failure levels.
A: Industry experts strongly advise against washing them. Washing compromises the delicate pore structure. It degrades the material integrity and stretches the fibers. Using brand-new media ensures predictable, safe, and efficient fluid processing every single time.
A: Several factors cause premature failure. Sudden pressure spikes, incorrect micron selection, and sharp debris in the housing are common culprits. Always use a smooth, undamaged restrainer basket to support the fabric properly under pressure.
A: Bypass usually occurs due to a degraded O-ring or a damaged gasket. It also happens if the top collar sits incorrectly in the basket groove. Always inspect your housing seals carefully and ensure the retaining mechanism locks down tightly.

